
 Save
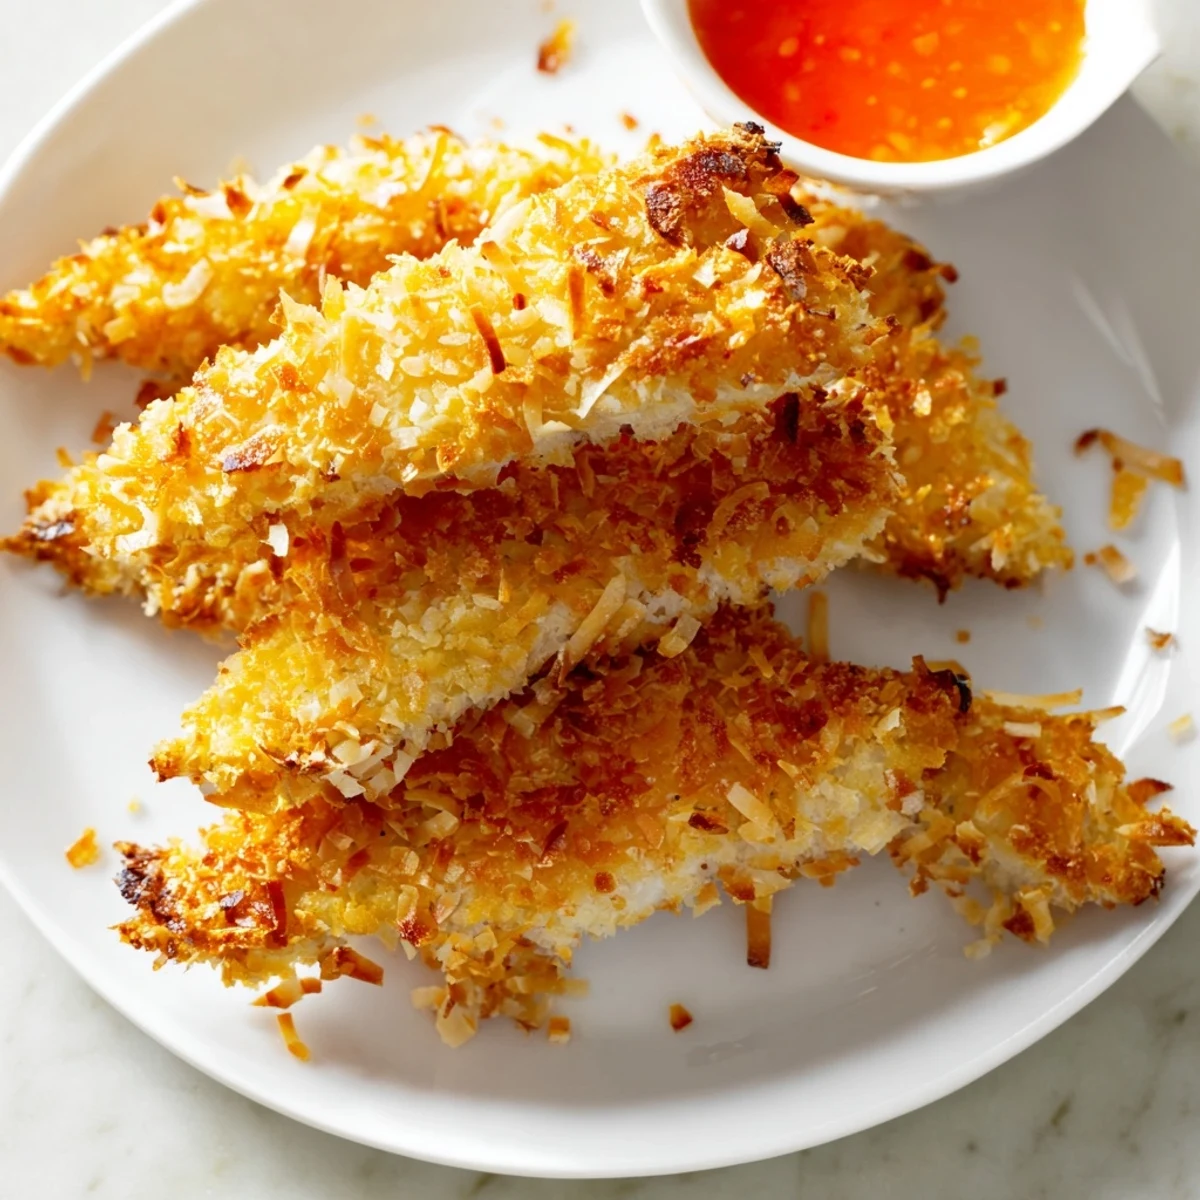
Save These crunchy coconut chicken strips combine juicy boneless chicken with a crispy coating of shredded coconut and panko breadcrumbs. The three-step breading process—seasoned flour, beaten egg, then the coconut-panko mixture—creates an irresistibly crunchy crust.
Choose between baking for a lighter option or pan-frying for maximum crispiness. Ready in just 40 minutes, this easy fusion dish pairs beautifully with sweet chili sauce, mango chutney, or a simple side of rice and salad.
Each serving delivers 31g of protein and works well as a main dish, party finger food, or casual weeknight dinner.
The sizzle of coconut hitting hot oil is one of those sounds that makes everyone wander into the kitchen asking what is for dinner. This coconut chicken came into my life during a rainy Tuesday when the pantry was bare except for a bag of shredded coconut and some chicken tenders. What started as a desperate dinner turned into the most requested meal in my house. The tropical crunch on the outside gives way to juicy chicken that somehow tastes like a vacation.
My friend Maria took one bite of these at a backyard gathering and immediately demanded the recipe while simultaneously reaching for a third piece. She now makes them weekly for her kids, who call them chicken cookies, which is both adorable and accurate.
Ingredients
- Boneless skinless chicken breasts or tenders (600 g): Cut into even strips so they all cook at the same rate, and tenders save you the slicing work if you are in a hurry.
- All purpose flour (70 g): This is your foundation layer that helps the egg grip the chicken properly.
- Salt (1 tsp) and black pepper (1/2 tsp): Season the flour generously because this is where most of your savory flavor gets locked in.
- Garlic powder (1/2 tsp): A quiet background note that makes everything taste more complete without overpowering the coconut.
- Large eggs (2, beaten): The glue that holds your entire crust together, so make sure every inch of chicken gets coated.
- Unsweetened shredded coconut (90 g): Unsweetened is key here because sweetened coconut will burn before the chicken cooks through.
- Panko breadcrumbs (60 g): These Japanese breadcrumbs are lighter and crunchier than regular ones, and they make the coating shatter satisfyingly when you bite in.
- Vegetable oil: Only needed if frying, but even if you bake, a light brush of oil on top makes the coconut toast beautifully.
- Sweet chili sauce or mango chutney (optional): The sweet heat plays off the coconut in a way that will ruin you for plain chicken tenders forever.
Instructions
- Get your oven or pan ready:
- If baking, heat the oven to 200 degrees Celsius (400 degrees Fahrenheit) and line a sheet with parchment paper that you have lightly greased. If frying, get a large skillet ready with about 2 cm of oil over medium heat.
- Set up your breading station:
- Arrange three shallow bowls in a row: flour with salt, pepper, and garlic powder in the first, beaten eggs in the second, and coconut mixed with panko in the third. This assembly line keeps your hands cleaner and the process moving fast.
- Coat the chicken strips:
- Dredge each strip in the seasoned flour and shake off the excess before dunking it in egg. Press the coconut panko mixture on firmly with your palms so it really sticks and creates a thick even crust.
- Cook until golden:
- To bake, arrange strips on the sheet, spray or brush lightly with oil, and bake 18 to 22 minutes flipping halfway through. To fry, cook in batches for 2 to 3 minutes per side until deeply golden and drain on paper towels.
- Serve and enjoy:
- Let them rest for just a minute so the crust sets and the juices redistribute. Serve hot with sweet chili sauce or mango chutney on the side for dipping.
 Save
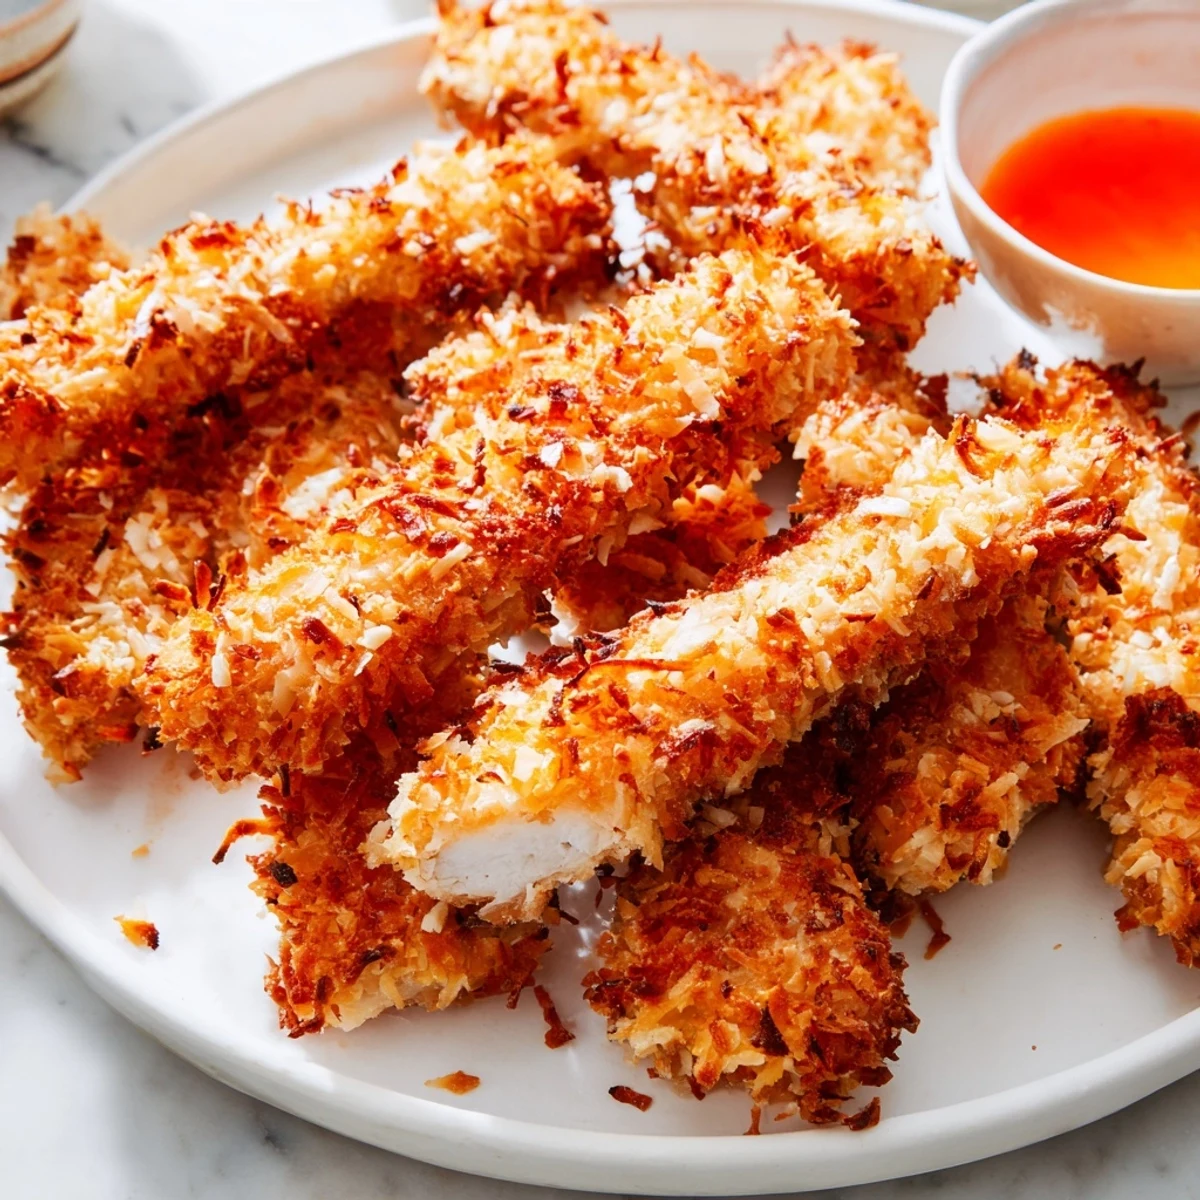
Save One evening I made a double batch for a potluck and they disappeared so fast I never even got one, which I have decided is the highest compliment a cook can receive.
Baking Versus Frying: What to Pick
Baking is easier and less messy, and the coconut still gets wonderfully toasty, especially if you give the strips a light oil spray on top. Frying gives a slightly thicker, more shattery crust that browns more evenly, but you have to babysit the oil temperature and work in batches. Honestly both are excellent, so pick based on how much cleanup you feel like doing tonight.
Making It Gluten Free
Swap the all purpose flour for a one to one gluten free blend and trade regular panko for gluten free panko, which is now available in most grocery stores. The coconut already is naturally gluten free, so you are really only changing two ingredients. The texture stays nearly identical and nobody at the table will suspect a thing.
Serving Ideas Beyond the Basics
These strips are incredibly versatile and work just as well sliced over a big green salad as they do piled on a plate with rice and steamed vegetables. I have also served them cut into bite sized pieces with toothpicks at parties, and they vanish faster than anything else on the table.
- Sprinkle a pinch of cayenne into the flour for a subtle heat that balances the sweetness of the coconut.
- Leftovers keep well in the fridge for up to three days and reheat beautifully in an air fryer or oven.
- Always let the chicken rest for a minute after cooking so the crust crisps up fully before serving.
 Save
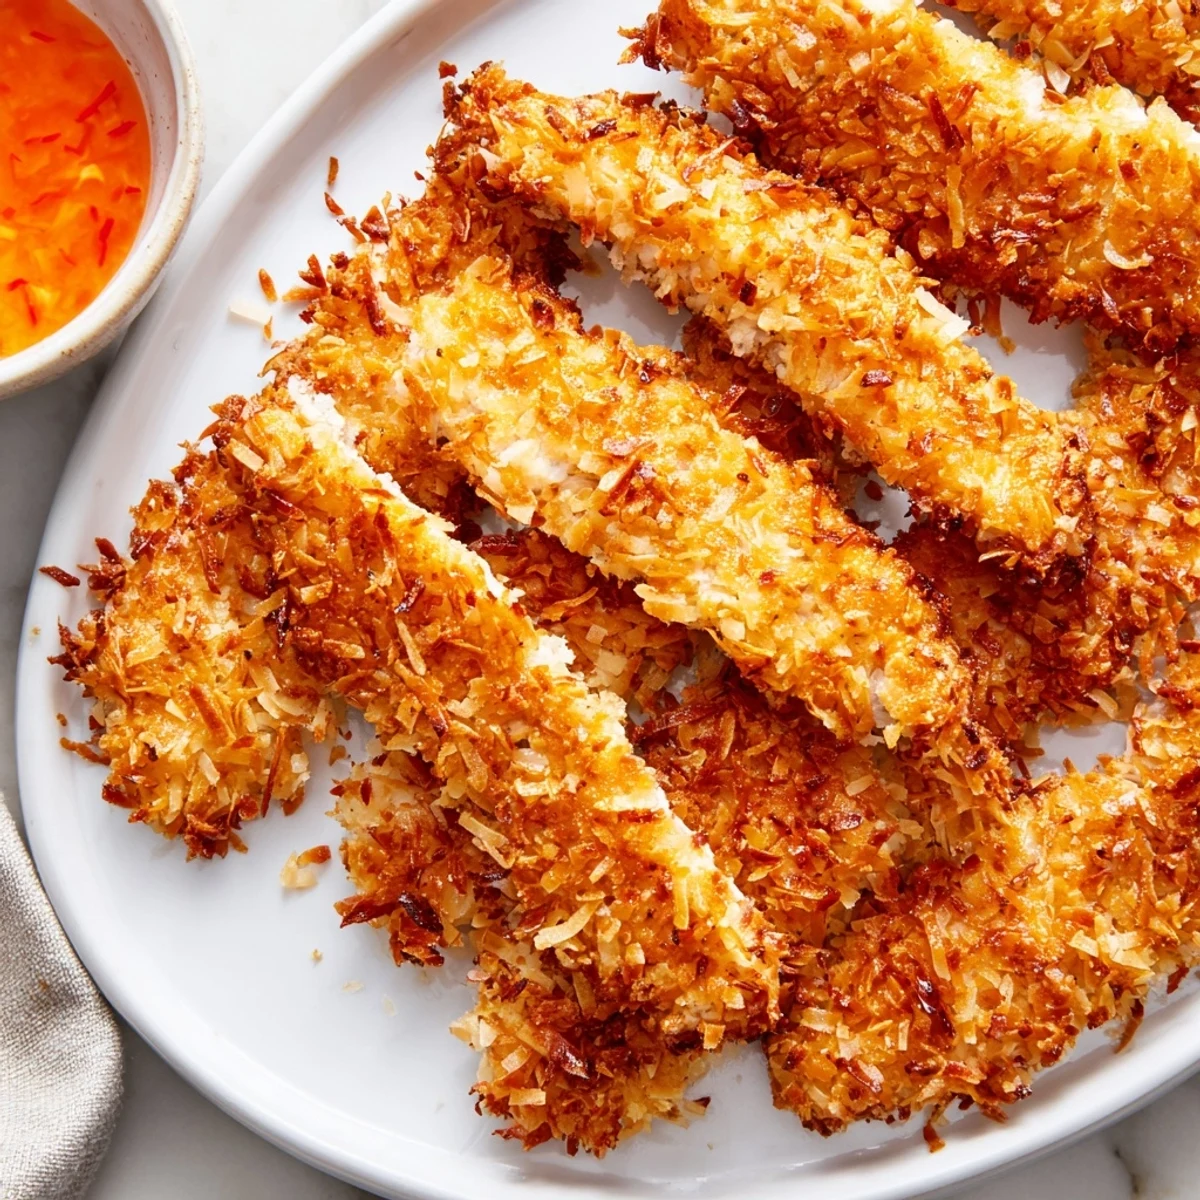
Save This is the kind of recipe that turns an ordinary weeknight into something worth remembering. Make it once and it will become part of your regular rotation, guaranteed.
Recipe FAQs
- → Can I bake instead of fry the coconut chicken?
-
Yes, baking works great for a lighter version. Arrange the coated strips on a parchment-lined baking sheet, lightly spray or brush with oil, and bake at 200°C (400°F) for 18–22 minutes, turning halfway through until golden and cooked through.
- → What type of coconut should I use for the crust?
-
Use unsweetened shredded coconut for the best results. Sweetened coconut can burn during cooking and make the dish overly sweet. Unsweetened shredded coconut provides pure tropical flavor and toasts beautifully in the oven or oil.
- → How do I keep the coconut breading from falling off?
-
Make sure to follow the breading station sequence: seasoned flour first, then beaten egg, then the coconut-panko mixture. Press the coating gently onto each strip to help it adhere. Also, let the breaded strips rest for 5 minutes before cooking to set the coating.
- → Can I make this dish gluten-free?
-
Absolutely. Swap the all-purpose flour for a gluten-free flour blend and use gluten-free panko breadcrumbs. All other ingredients are naturally gluten-free. Always check packaged products for cross-contamination warnings if sensitivity is a concern.
- → What dipping sauces pair well with coconut chicken?
-
Sweet chili sauce and mango chutney are classic pairings that complement the tropical coconut flavor. You can also try a citrusy ponzu sauce, honey mustard, or a simple sriracha mayo for a creamy-spicy contrast.
- → How should I store and reheat leftovers?
-
Store leftover coconut chicken in an airtight container in the refrigerator for up to 3 days. To reheat and maintain crispiness, place strips on a baking sheet in a 190°C (375°F) oven for 8–10 minutes. Avoid microwaving as it softens the crust.
- → Can I use chicken thighs instead of breasts?
-
Yes, boneless skinless chicken thighs work well and will be even juicier. Cut them into similar-sized strips for even cooking. Thighs may need an extra minute or two of cooking time compared to breast meat.