
 Save
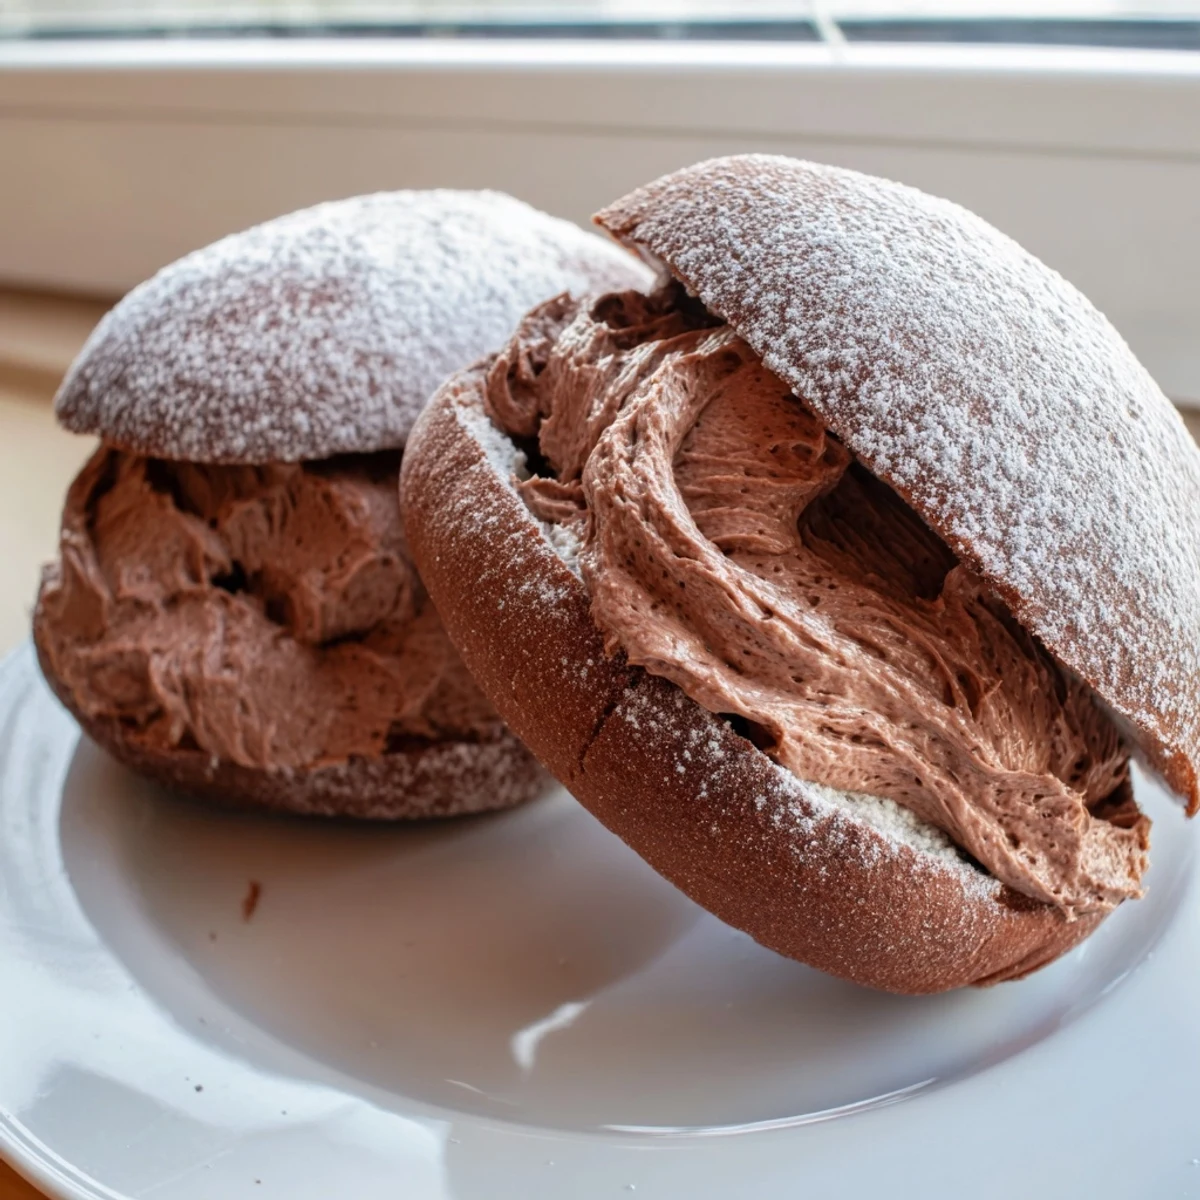
Save Italian chocolate maritozzi are soft, cocoa-kneaded sweet buns originating from Roman pastry tradition. The enriched dough combines flour, unsweetened cocoa powder, milk, butter, and a hint of orange zest for aromatic depth.
After two rises for optimal texture, the buns are baked until just set, then cooled completely. Each bun is sliced lengthwise and generously filled with a luscious chocolate whipped cream made from dark chocolate folded into sweetened heavy cream.
Finished with a dusting of powdered sugar, these buns are best enjoyed fresh and make an impressive dessert or afternoon treat.
The smell of cocoa and yeast together is something that stops you mid sentence, and that is exactly what happened to me one rainy Roman afternoon when a baker handed me a chocolate maritozzo still warm from the tray. I had been walking past his shop for three days pretending I did not need another pastry, but this time the aroma won. The bun was impossibly soft, split open like a little boat, and overflowing with dark chocolate cream that got all over my coat and I did not care even a little.
I made a batch of these for my neighbors after they helped me move a sofa up four flights of stairs, and they stood in the hallway eating them in complete silence, which is the highest compliment I have ever received for any food.
Ingredients
- All purpose flour (350 g): Use a good quality flour with moderate protein content so the buns stay tender rather than turning bready.
- Unsweetened cocoa powder (30 g): This is what sets chocolate maritozzi apart from the classic version, so use a decent cocoa and your dough will reward you with deep color and flavor.
- Granulated sugar (60 g): Just enough sweetness for the dough without competing with the filling.
- Active dry yeast (7 g): Check that your yeast is fresh and bubbly when bloomed, because these buns need a strong rise to get that pillowy interior.
- Salt (1 pinch): A small amount but do not skip it, since salt wakes up the cocoa flavor beautifully.
- Whole milk, lukewarm (170 ml): Warm to the touch but not hot, because scalding milk will kill your yeast and end the project before it begins.
- Unsalted butter, softened (50 g): Room temperature butter incorporates smoothly and keeps the crumb rich.
- Egg (1): Adds structure and a hint of richness that makes the dough feel luxurious.
- Orange zest (optional): I highly recommend this because the citrus brightens the chocolate in a way that surprises people every single time.
- Heavy cream (200 ml): The backbone of the filling, so choose a cream with high fat content for the most stable and luscious result.
- Dark chocolate, 60 to 70 percent cocoa (80 g): Finely chopped so it melts quickly and evenly when the warm cream hits it.
- Powdered sugar (2 tbsp for filling, plus extra for dusting): Sweetens the whipped cream just enough without making it grainy.
Instructions
- Build the dough:
- In a large bowl, whisk together the flour, cocoa powder, sugar, yeast, and salt until evenly combined and uniformly brown. Pour in the lukewarm milk, add the softened butter, crack in the egg, and drop in the orange zest if you are using it. Mix with your hands or a wooden spoon until you have a shaggy, sticky dough that looks a little messy and that is perfectly fine.
- Knead with patience:
- Turn the dough onto a lightly floured surface and knead for about ten minutes, pushing and folding, until it transforms from a sticky lump into something smooth and springy under your palms. The dough will still be slightly tacky because of the cocoa, but it should hold its shape when you poke it gently.
- Let it rise:
- Place the dough in a greased bowl, cover it with a damp towel or plastic wrap, and tuck it into a warm corner of your kitchen for one to one and a half hours. You will know it is ready when it has puffed to double its size and looks like it is sighing with contentment.
- Shape the buns:
- Punch the dough down gently and divide it into eight equal pieces, using a bench scraper or knife for even portions. Roll each piece into a plump oval, like a small football, and arrange them on a parchment lined baking tray with space between them. Cover loosely and let them puff up again for thirty minutes while you preheat the oven to 180 degrees Celsius or 350 degrees Fahrenheit.
- Bake until just set:
- Slide the tray into the hot oven and bake for eighteen to twenty minutes, watching for the tops to look set and slightly cracked but still soft to the touch. Let them cool completely on the tray because warm buns will melt your filling into a puddle.
- Make the chocolate cream:
- Heat fifty milliliters of cream in a small saucepan until it is steaming and trembling but not boiling, then pour it over the finely chopped chocolate in a bowl. Stir patiently until you have a glossy, uniform ganache and set it aside to cool to room temperature. Whip the remaining cream with the powdered sugar until it holds stiff peaks, then fold in the cooled ganache with gentle sweeping motions until the color is even throughout.
- Fill and finish:
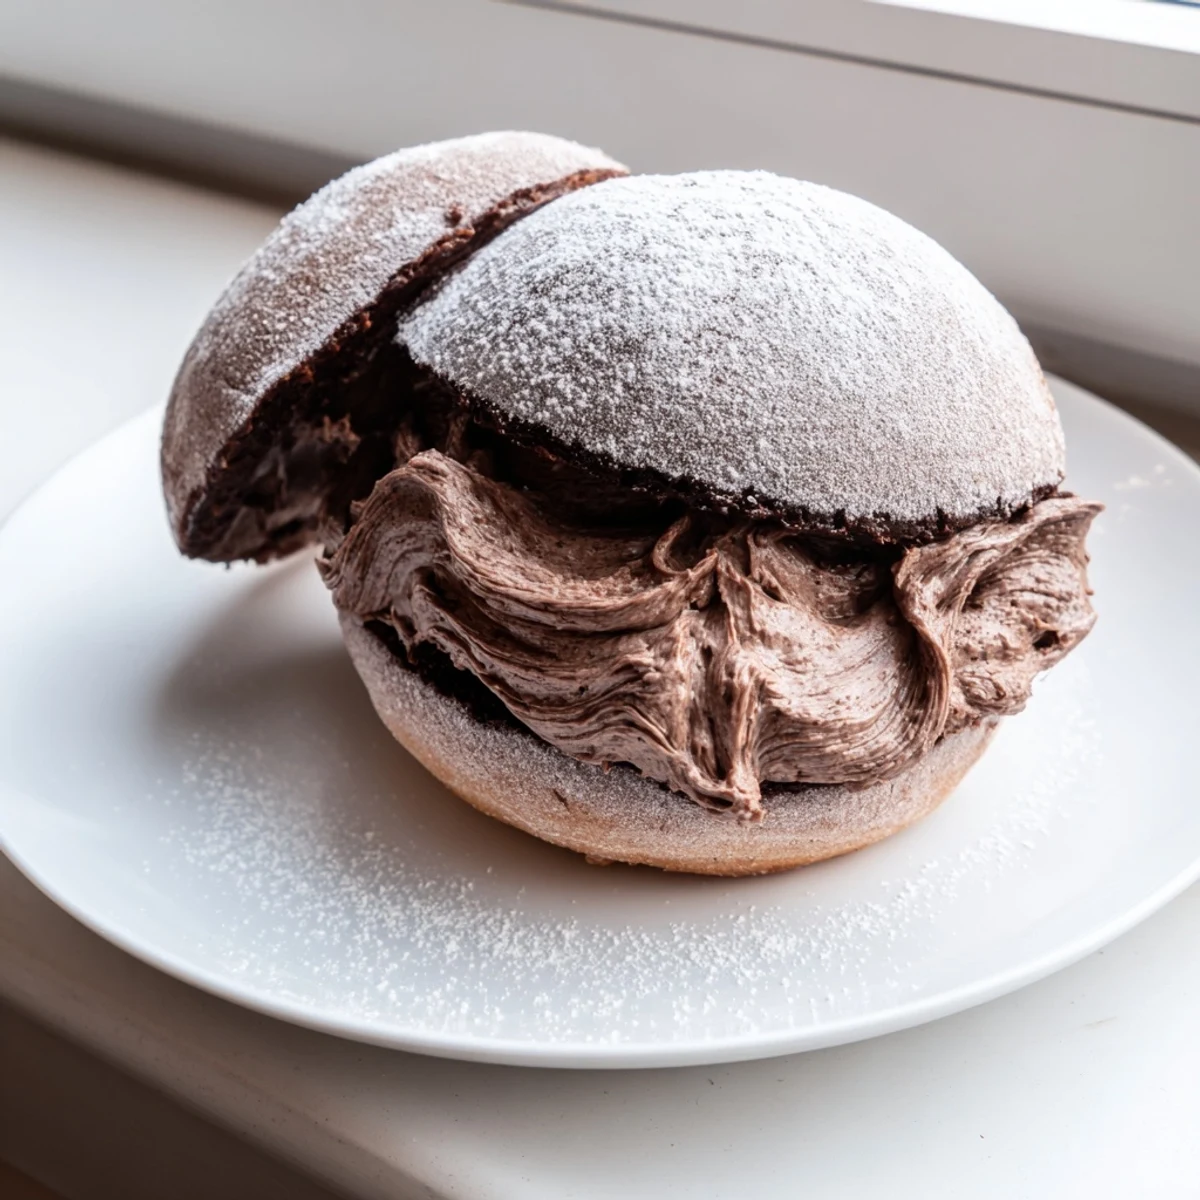
- Take a sharp knife and slice each cooled bun lengthwise, leaving a hinge at the back so it opens like a clamshell. Spoon or pipe a generous mound of chocolate cream into each bun, letting it billow out the sides, and dust the tops with powdered sugar before serving with zero restraint.
 Save
Save The first time I served these at a dinner party, a friend picked one up, took a bite, and immediately put it back down on her plate just to stare at it for a moment before finishing the whole thing with her eyes closed.
What to Know About the Dough
Cocoa powder absorbs moisture differently than flour alone, so your dough may feel a touch wetter or drier depending on your brand and your kitchen humidity. Trust the texture over the timer and add a dusting of flour only if the dough is truly unworkable after several minutes of kneading.
Playing With the Filling
Swapping a portion of the heavy cream for mascarpone gives the filling a thicker, more structurally stable quality that holds up beautifully if you need to prepare these a few hours ahead.
Serving and Storing Your Maritozzi
These are absolutely at their peak within the first few hours of being filled, when the bun is still soft and the cream is cool and freshly whipped.
- A splash of espresso or Amaretto folded into the chocolate ganache turns the filling into something quietly sophisticated.
- Store any leftovers in the refrigerator but bring them back to room temperature for twenty minutes before eating so the bun softens again.
- They will keep for up to two days chilled but honestly they rarely last that long in my house.
 Save
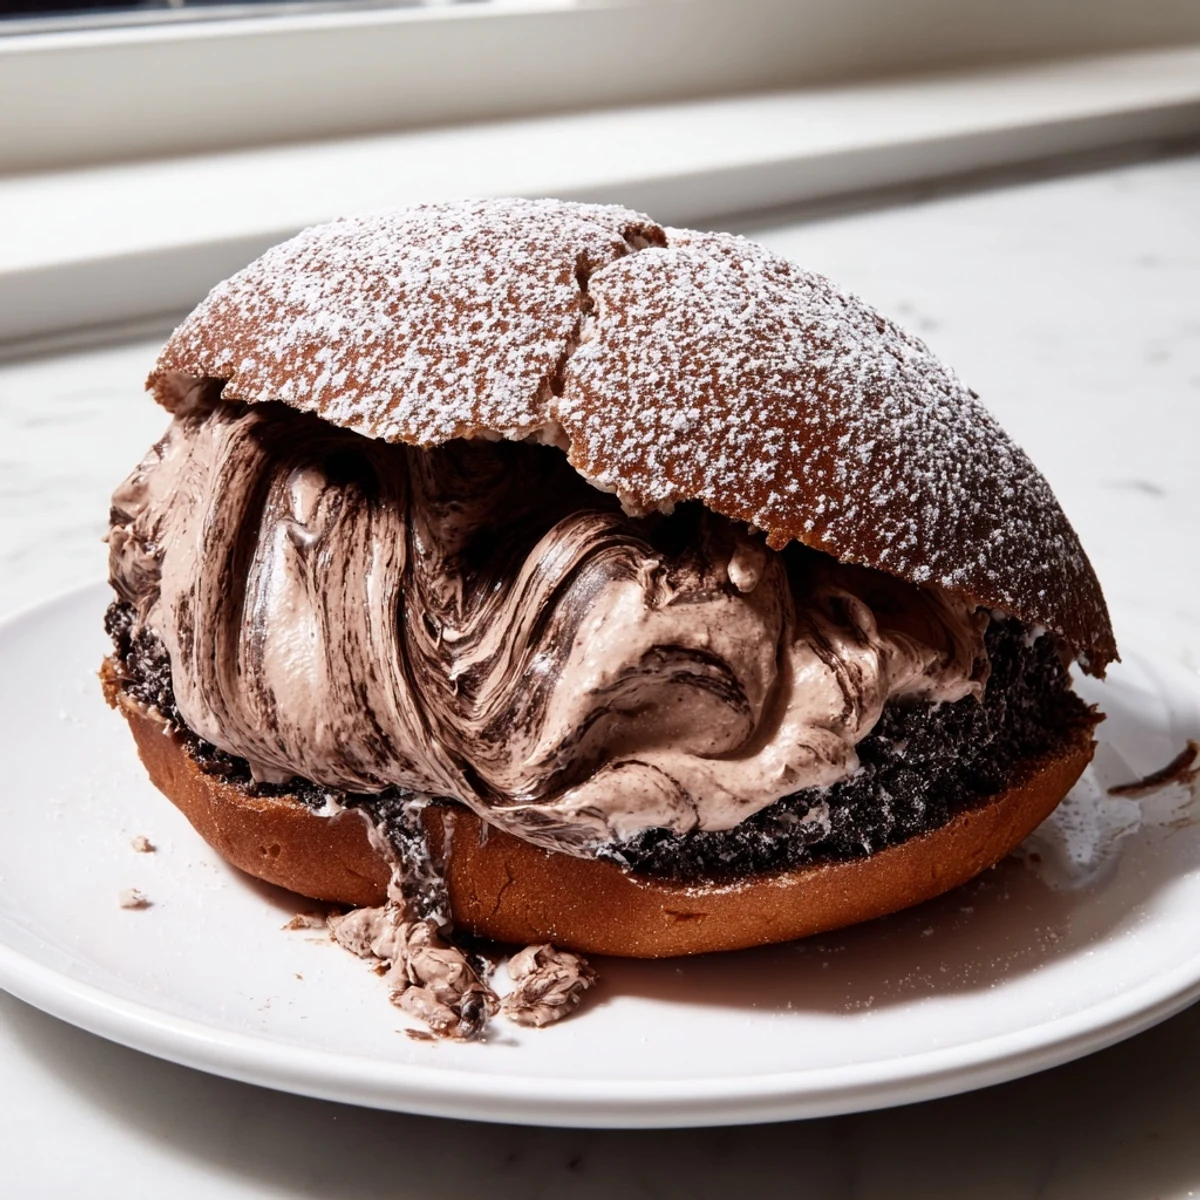
Save Every time I make these maritozzi, I am transported back to that rain slicked Roman street, and I think that is the real magic of cooking. A recipe is not just a list of steps, it is a portal.
Recipe FAQs
- → Can I make the dough without a stand mixer?
-
Yes, you can knead the dough entirely by hand on a floured surface. It will take about 10 minutes of kneading to achieve a smooth and elastic texture. The dough starts sticky but becomes more manageable as you work it.
- → Why did my maritozzi not rise properly?
-
Improper rising is usually caused by inactive yeast or a cold environment. Ensure your milk is lukewarm (not hot, which kills yeast) and let the dough rise in a warm, draft-free spot. You can use a slightly warm oven (turned off) to help the process.
- → Can I substitute the dark chocolate in the filling?
-
You can use milk chocolate or semi-sweet chocolate, but the filling will be sweeter and less intense. Dark chocolate between 60–70% cocoa provides the best balance of richness and depth for the whipped cream filling.
- → How should I store leftover maritozzi?
-
Store filled maritozzi in the refrigerator for up to 2 days, loosely covered. The cream filling requires refrigeration. For the best texture and flavor, let them sit at room temperature for 15 minutes before serving.
- → Can I freeze the baked buns before filling?
-
Yes, the baked unfilled buns freeze well for up to 1 month. Wrap them individually in plastic wrap and place in a freezer bag. Thaw at room temperature, then fill with freshly made chocolate whipped cream before serving.
- → What can I use instead of orange zest?
-
The orange zest is optional and adds subtle aromatic brightness. You can omit it entirely, or replace it with lemon zest for a different citrus note. A teaspoon of vanilla extract is another pleasant alternative.