 Save
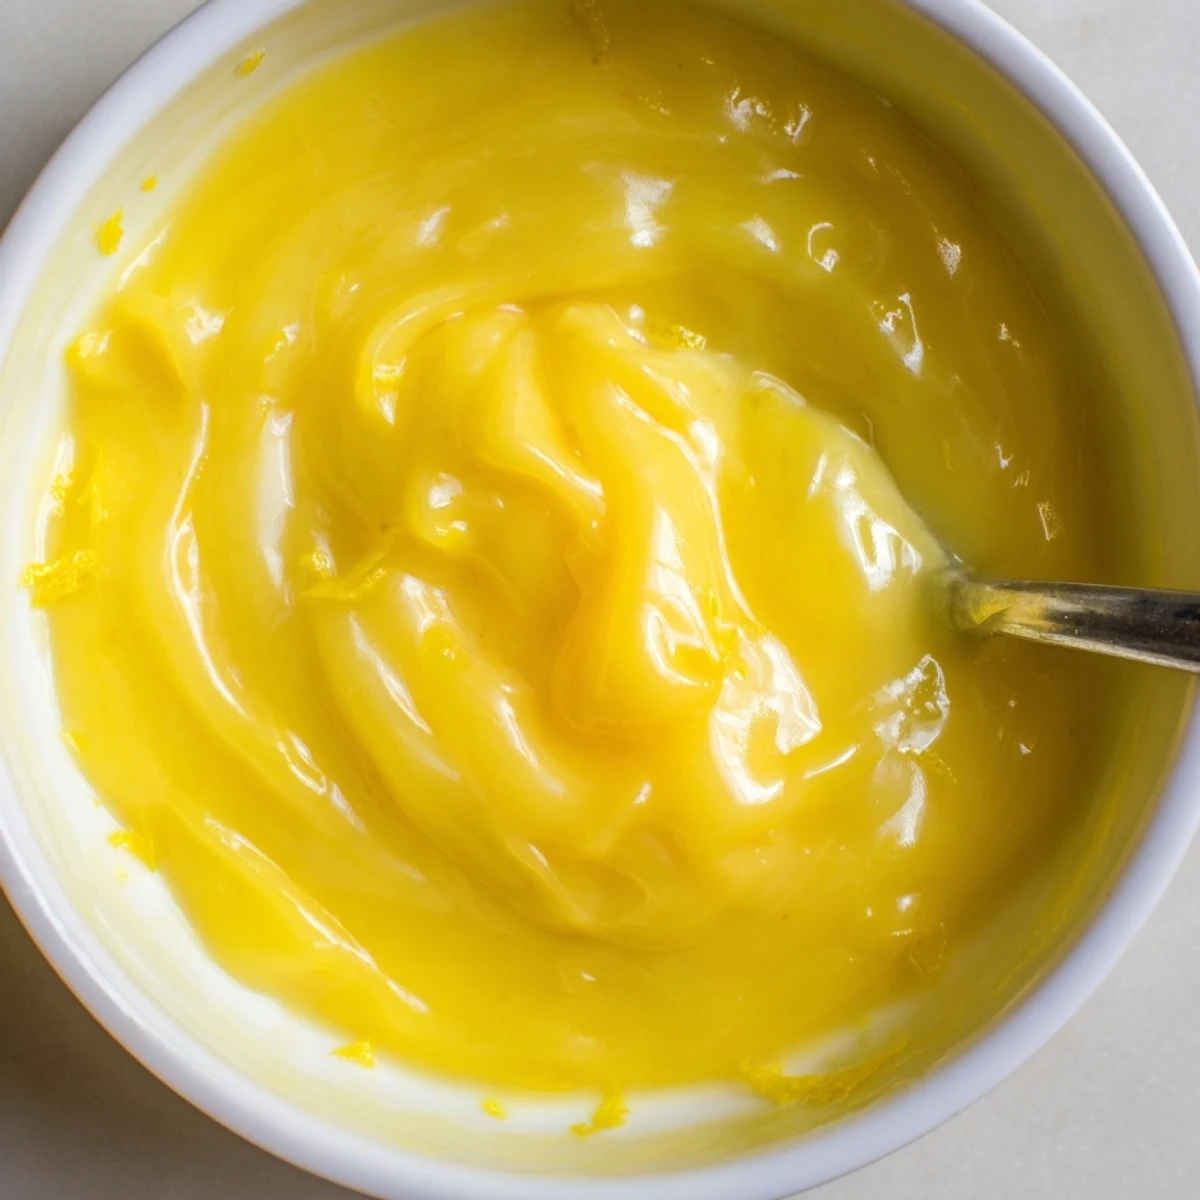
Save Quick, silky lemon curd made from fresh lemon zest and juice, eggs, sugar and butter. Cook gently over a double boiler while whisking until thickened, then strain and cool. Yields about 2 cups in 20 minutes total. Use two strains for extra smoothness, or swap plant-based butter for dairy-free versions. Store chilled up to two weeks.
The scent of fresh lemons always seems to promise mischief or magic in the kitchen. One sunny afternoon, with golden citrus sitting on the counter and a craving for something cheerful, I decided to try my hand at homemade lemon curd. It started as an experiment but quickly became a ritual, especially when I realized how much better it tasted than anything from the store. Even the splatters felt like part of the fun, brightening up my apron and my mood.
There was a morning when my sister and I tried the recipe together, crowding around the stove and jostling elbows, each one insisting they knew the secret to stirring. The steam fogged up our glasses and laughter punctuated the process, right up until we dipped spoons in for that first, bright taste. Making lemon curd wasn’t just about the end result—it gave us a little shared sunshine in the middle of an ordinary week.
Ingredients
- 4 large eggs: These give the curd its luscious texture—make sure they’re at room temperature to help them blend smoothly with the sugar.
- 4 tablespoons unsalted butter, cubed: Butter tames the lemon’s sharpness and adds a gorgeous sheen; I always cube it ahead of time for quick melting.
- 3 large lemons (zest and juice; about 1 tablespoon zest, 120 ml juice): Fresh, tart, deeply aromatic lemons are non-negotiable for the best curd; zest first, then juice.
- 200 g (1 cup) granulated sugar: The sugar balances out the citrus and brings everything together—if you taste the mixture before thickening, don’t be alarmed if it’s tart; cooking mellows it out.
Instructions
- Whisk it up:
- In a heatproof bowl, whisk the eggs and sugar until the grains dissolve and the mix looks pale and creamy—don’t rush, this is where the smoothness starts.
- Squeeze and stir:
- Add lemon zest and juice, letting the bright aroma escape and mingle with the sugar and eggs.
- Set up your double boiler:
- Place the bowl over a saucepan of simmering water, making certain the base hovers above the water and doesn’t touch it—this ensures gentle, controlled heating.
- Stir and watch:
- Whisk continuously with a silicone spatula or whisk, and enjoy watching the mixture slowly thicken—after several minutes, it will cling to the back of a spoon, ready to come off the heat.
- Butter it up:
- Take the bowl off the heat and drop in the butter cubes, stirring until they're fully melted and the curd is velvety.
- Final straining:
- Pour the curd through a fine-mesh sieve into a clean bowl to catch any stray bits, making the end result silky smooth.
- Chill and jar:
- Let it cool down until just warm, then spoon it gently into sterilized jars and tuck them in the fridge—resist the urge to eat it all at once.
 Save
Save Serving homemade lemon curd at a brunch once, I watched my friends sneak extra spoonfuls onto their plates, grinning as if they’d discovered something wickedly indulgent. That moment made me realize lemon curd isn’t just a spread—it’s an instant mood lifter and a bit of edible sunshine to pass around the table.
Best Ways to Enjoy Lemon Curd
Nothing beats a generous slather of cool lemon curd on a warm scone, but it’s also delightful as a cake filling or gently folded into whisked cream for an easy, elegant dessert. One friend swears by stirring it into yogurt, while I’m partial to adding a dollop on top of pancakes for a morning pick-me-up.
Choosing and Prepping Lemons
I’ve found that rolling the lemons firmly beneath your palm before zesting and juicing makes a world of difference—they yield more juice and zest with less effort, and the oils released make for a fuller flavor in the curd.
Storing and Gifting Tips
Letting lemon curd cool completely before sealing the jars keeps it from developing condensation on top, and labeling each jar with the date helps me remember when to enjoy them at their best. Neatly tucked into a basket with fresh baked scones, lemon curd makes a heartfelt homemade gift.
- Refrigerate the curd right away for freshness.
- Use clean, sterilized jars to keep everything food safe.
- Remember, the curd will thicken a little more as it chills in the fridge.
 Save
Save Lemon curd is a bright little jar of joy, ready whenever you need a lift or wish to share something homemade. May your scones never be lonely again.
Recipe FAQs
- → How do I know when the curd is properly thickened?
-
The mixture is ready when it coats the back of a spoon and a line drawn with your finger holds briefly. Continuous whisking helps reach a smooth, custard-like thickness without overcooking.
- → Why use a double boiler instead of direct heat?
-
A double boiler provides gentle, even heat that prevents the eggs from scrambling and yields a glossy, smooth curd. Direct heat risks curdling and uneven texture.
- → Can I make this dairy-free?
-
Yes. Replace the unsalted butter with a firm plant-based butter or coconut oil for a dairy-free version; flavor and texture remain bright and spreadable when blended in while warm.
- → Is straining necessary and how many times should I strain?
-
Straining removes bits of zest and any coagulated egg for an extra-smooth finish. Strain once for most uses, twice if you prefer an ultra-silky texture for fillings or delicate pastries.
- → How should I store and how long does it keep?
-
Cool completely, transfer to sterilized jars, seal and refrigerate. Properly chilled, the curd keeps up to two weeks. For longer storage, freeze in small portions and thaw in the fridge.
- → Can I adjust the sweetness or lemon intensity?
-
Yes. Reduce sugar slightly for a tarter finish or add more zest for brighter citrus notes. Taste as you cook, remembering that chilling can mellow flavors.