 Save
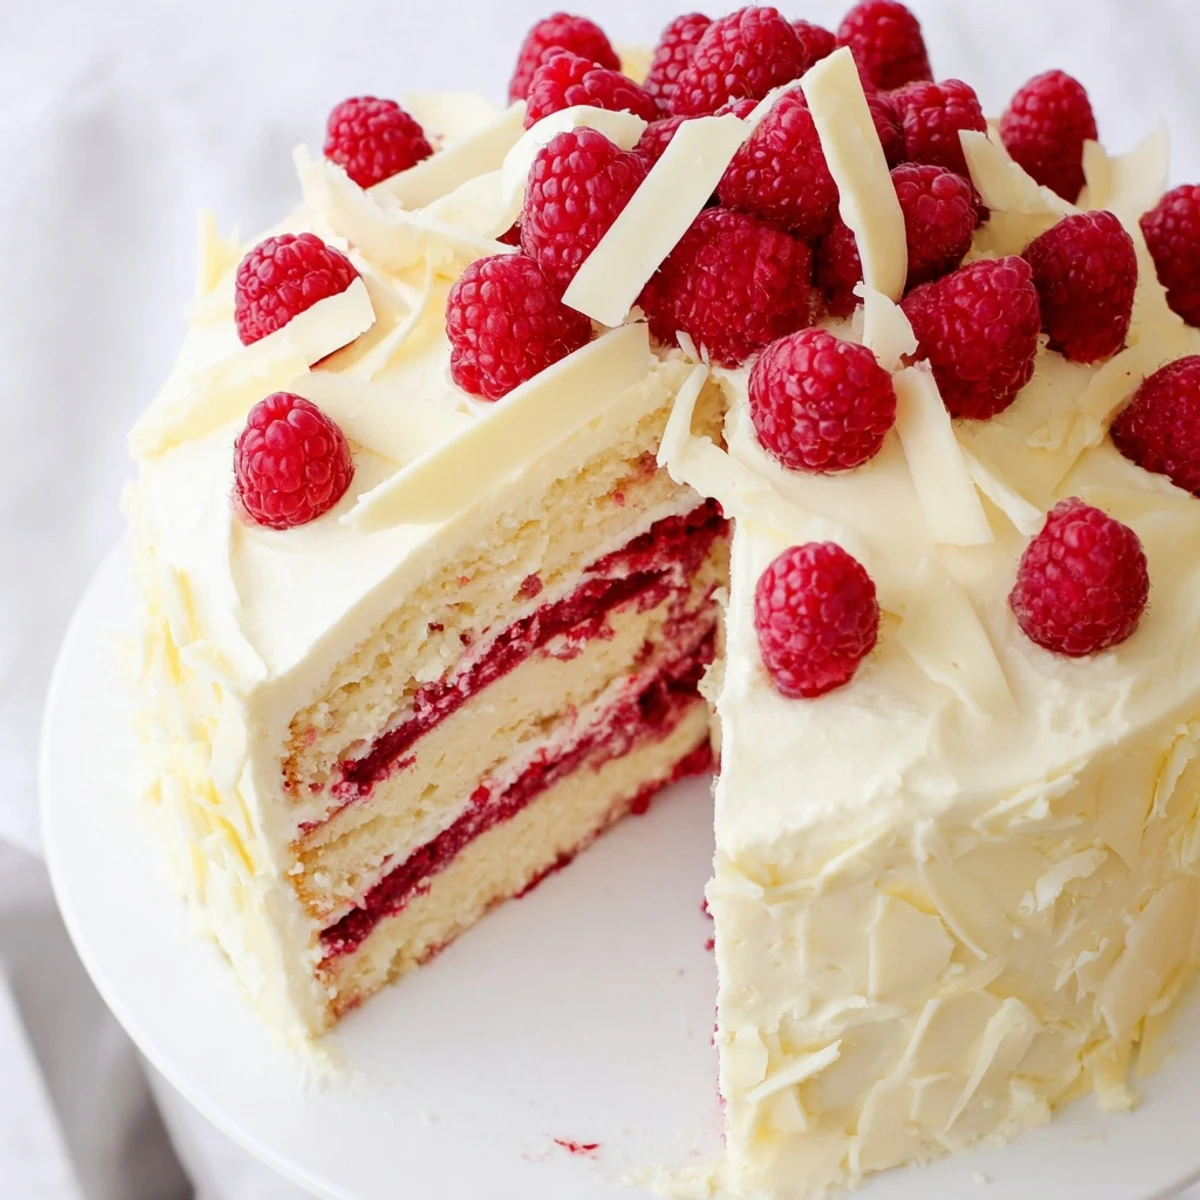
Save This stunning three-layer dessert combines the delicate sweetness of white chocolate with the bright tartness of fresh raspberries. Each moist sponge layer is infused with melted white chocolate and vanilla, creating a tender crumb that perfectly complements the vibrant fruit filling. The crowning glory is a luxurious cream cheese frosting enriched with even more white chocolate, creating a silky-smooth finish that's both rich and balanced.
While the assembly requires some patience and cooling time, the process is straightforward and rewarding. The raspberry filling cooks quickly on the stovetop, thickening into a luscious fruit layer that cuts through the sweetness of the white chocolate components. This cake truly shines when made ahead and chilled overnight, allowing flavors to meld and the frosting to set perfectly.
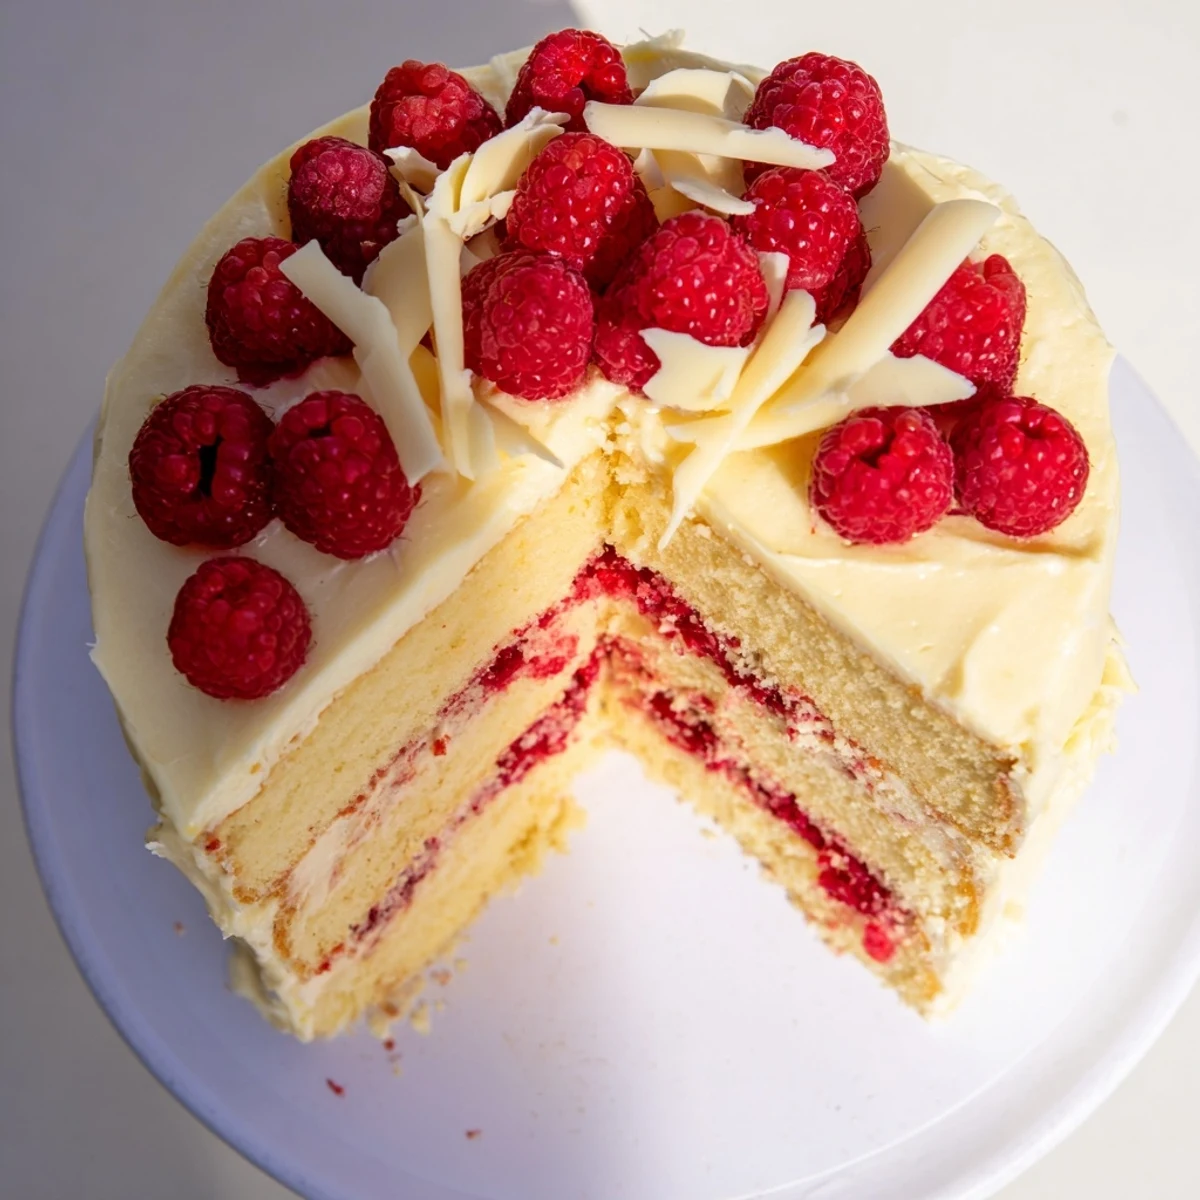
Serve this showstopper at birthdays, weddings, or holiday gatherings. The presentation is breathtaking with fresh raspberries and delicate white chocolate curls as garnish. Pair with sparkling wine, Moscato, or after-dinner coffee for an unforgettable finale to any meal.
The morning sunlight caught the white chocolate curls just right, and I knew this cake was going to be something special. I had been testing white chocolate cakes for months, always ending up with something too sweet or oddly dense. This particular Sunday, with raspberries threatening to turn in the fridge and a dinner party looming that evening, I finally cracked the code. The way the tart raspberry cuts through that creamy white chocolate frosting is absolute magic.
My sister called me mid-bake that first time, frantic about a last minute anniversary dinner she was hosting. I talked her through the recipe over the phone while my own cakes were cooling, and later that night she texted me a photo of an empty cake stand with just smears of raspberry filling remaining. Now she makes it for every milestone, and honestly, I cannot blame her one bit.
Ingredients
- All-purpose flour: The structure that holds all that creamy sweetness together, so measure accurately for best results
- White chocolate: Use high quality bars instead of chips for melting, the smoother texture really matters here
- Fresh raspberries: Frozen will work in a pinch, but fresh berries give that gorgeous jewel tone and bright pop
- Cream cheese: Room temperature is non negotiable, or you will end up with lumpy frosting every single time
- Unsalted butter: Having control over the salt level lets the white chocolate shine without competing flavors
Instructions
- Preheat and prepare your pans:
- Get your oven to 350°F and generously grease three 8 inch round pans, lining the bottoms with parchment paper so you never face that tragic stuck cake moment.
- Whisk the dry ingredients together:
- Combine the flour, baking powder, and salt in a medium bowl, setting it aside while you work on the wet ingredients.
- Cream butter and sugar:
- Beat the butter and granulated sugar until the mixture turns pale and fluffy, which usually takes about 3 to 5 minutes of serious mixing.
- Add eggs and white chocolate:
- Drop in the eggs one at a time, letting each fully incorporate before adding the next, then mix in the melted white chocolate and vanilla.
- Combine wet and dry:
- Alternate adding the flour mixture and milk on low speed, starting and ending with the flour, mixing only until you no longer see dry streaks.
- Bake the layers:
- Divide the batter evenly among your prepared pans and bake for 30 to 35 minutes, until a toothpick inserted in the center comes out clean.
- Cool completely:
- Let the cakes rest in their pans for just 10 minutes before turning them out onto wire racks to cool entirely.
- Make the raspberry filling:
- Simmer the raspberries, sugar, lemon juice, and water over medium heat, mashing the berries, then stir in cornstarch and cook until thickened.
- Prepare the frosting:
- Melt the white chocolate and let it cool to room temperature, then beat cream cheese and butter until smooth before mixing in the chocolate and confectioners sugar.
- Assemble the cake:
- Place one layer on your serving plate, spread with half the raspberry filling, repeat with the second layer, then frost the entire cake and decorate as you wish.
 Save
Save This was the cake I made for my own anniversary dinner, tucked away in the fridge all day while we went out for lunch. Coming home and slicing into those creamy layers felt like the real celebration beginning, and somehow dessert became the main event we still talk about.
Making It Ahead
You can bake the cake layers up to two days in advance, wrapped tightly in plastic and stored at room temperature. The frosting and filling both keep beautifully in the refrigerator for three days, just bring everything to room temperature before you start assembling.
Getting Those Perfect Layers
If your cakes come out with domed tops, use a serrated knife to level them before stacking. I learned this the hard way after my first attempt slid right off the serving plate during transport, which is still a family story we tell at holidays.
Serving And Storing
This cake needs at least one hour in the refrigerator to set properly before slicing, which honestly helps with portion control because the wait makes you appreciate every bite. Keep any leftovers covered in the refrigerator for up to four days.
- Let chilled cake sit at room temperature for 20 minutes before serving for the best texture
- Use a hot knife dipped in warm water for perfectly clean slices
- The frosting firms up nicely when chilled, making this cake surprisingly portable
 Save
Save There is something undeniably joyful about cutting into a cake this stunning and watching people realize it tastes even better than it looks. I hope this finds its way into your celebration rotation and creates its own memories around your table.
Recipe FAQs
- → Can I make the layers ahead of time?
-
Absolutely. Wrap cooled cake layers tightly in plastic wrap and store at room temperature for up to 2 days, or freeze for up to 3 months. Thaw frozen layers overnight before frosting and assembling.
- → What if I can't find fresh raspberries?
-
Frozen raspberries work wonderfully. Thaw them completely and drain excess liquid before cooking into the filling. You may need to reduce the water in the filling slightly to account for the extra moisture from thawing.
- → How do I prevent the white chocolate from seizing when melting?
-
Melt white chocolate gently using short bursts in the microwave (15-20 seconds at a time) stirring between each, or use a double boiler over barely simmering water. Avoid any contact with water or steam, which can cause the chocolate to become grainy and seize.
- → Can I use white chocolate chips instead of bars?
-
While possible, white chocolate chips contain stabilizers that prevent them from melting smoothly. For the best texture and flavor, use high-quality white chocolate baking bars or couverture white chocolate with at least 30% cocoa butter.
- → Why is my raspberry filling too runny?
-
The filling needs to simmer for the full 2-3 minutes after adding cornstarch to activate the thickening agent. If it's still too loose, return it to the heat and cook for another minute or two. Remember that it will thicken further as it cools completely.
- → How should I store the finished cake?
-
Due to the cream cheese frosting and fresh fruit filling, refrigerate the assembled cake. Cover loosely with plastic wrap or a cake dome and store for up to 4 days. Bring to room temperature for 30 minutes before serving for the best texture and flavor.