 Save
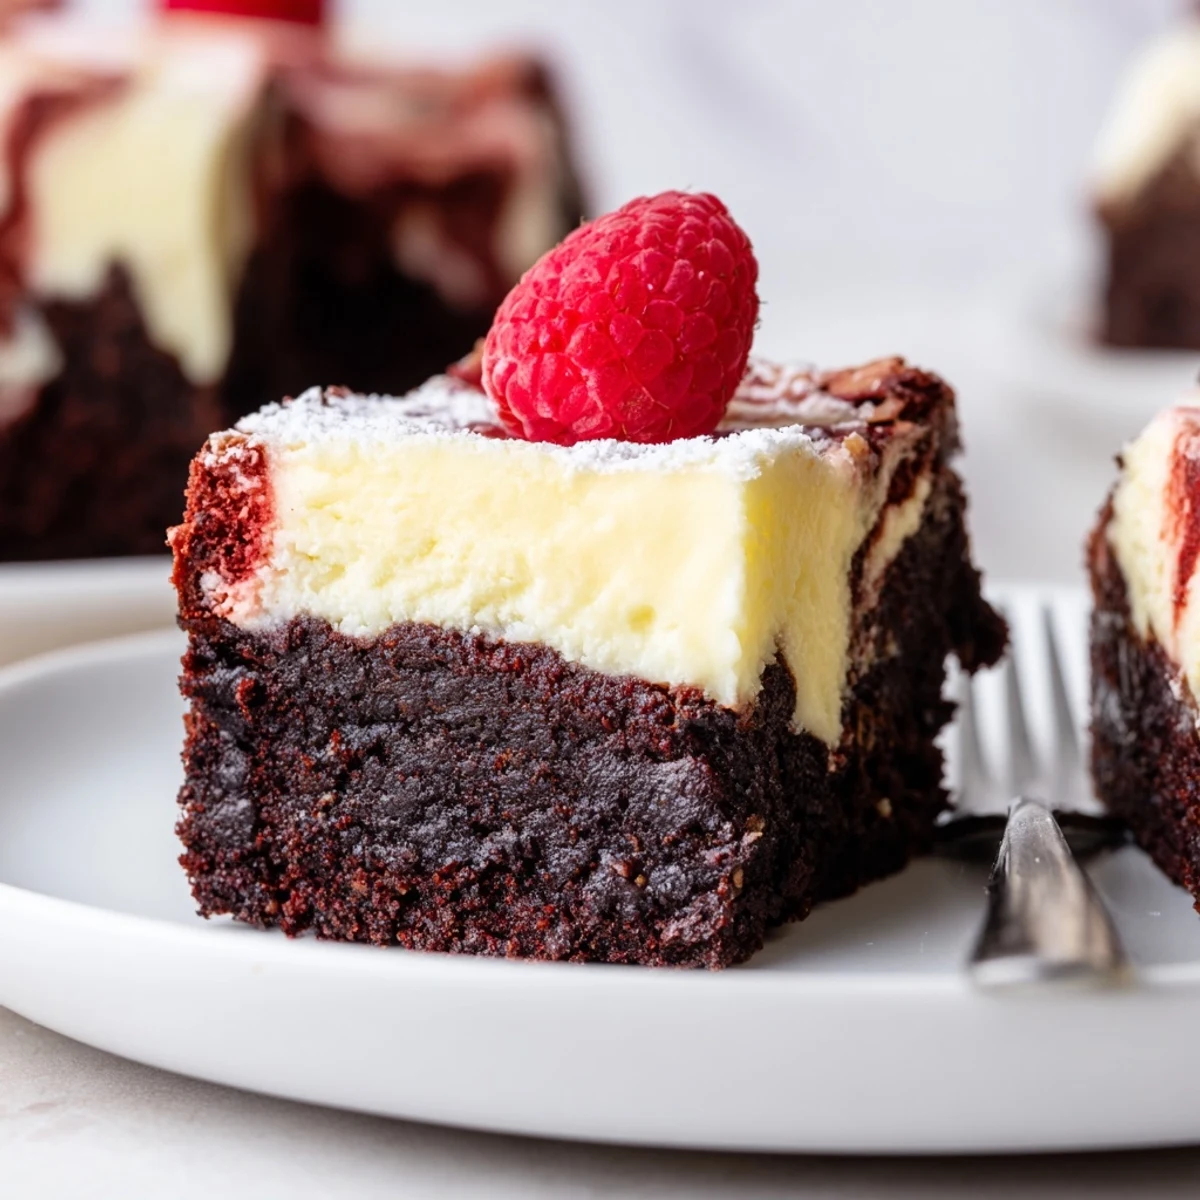
Save These red velvet brownies pair a cocoa-kissed, fudgy brownie base tinted deep red with a smooth, tangy cream cheese layer. Whisk melted butter and sugar, fold in flour and cocoa, spread most batter, pour the cream cheese filling, dollop remaining batter and swirl for a marbled top. Use an 8x8 inch pan and bake 33–37 minutes until center holds a few moist crumbs. Chill fully for clean slices; serve with berries or a dusting of powdered sugar.
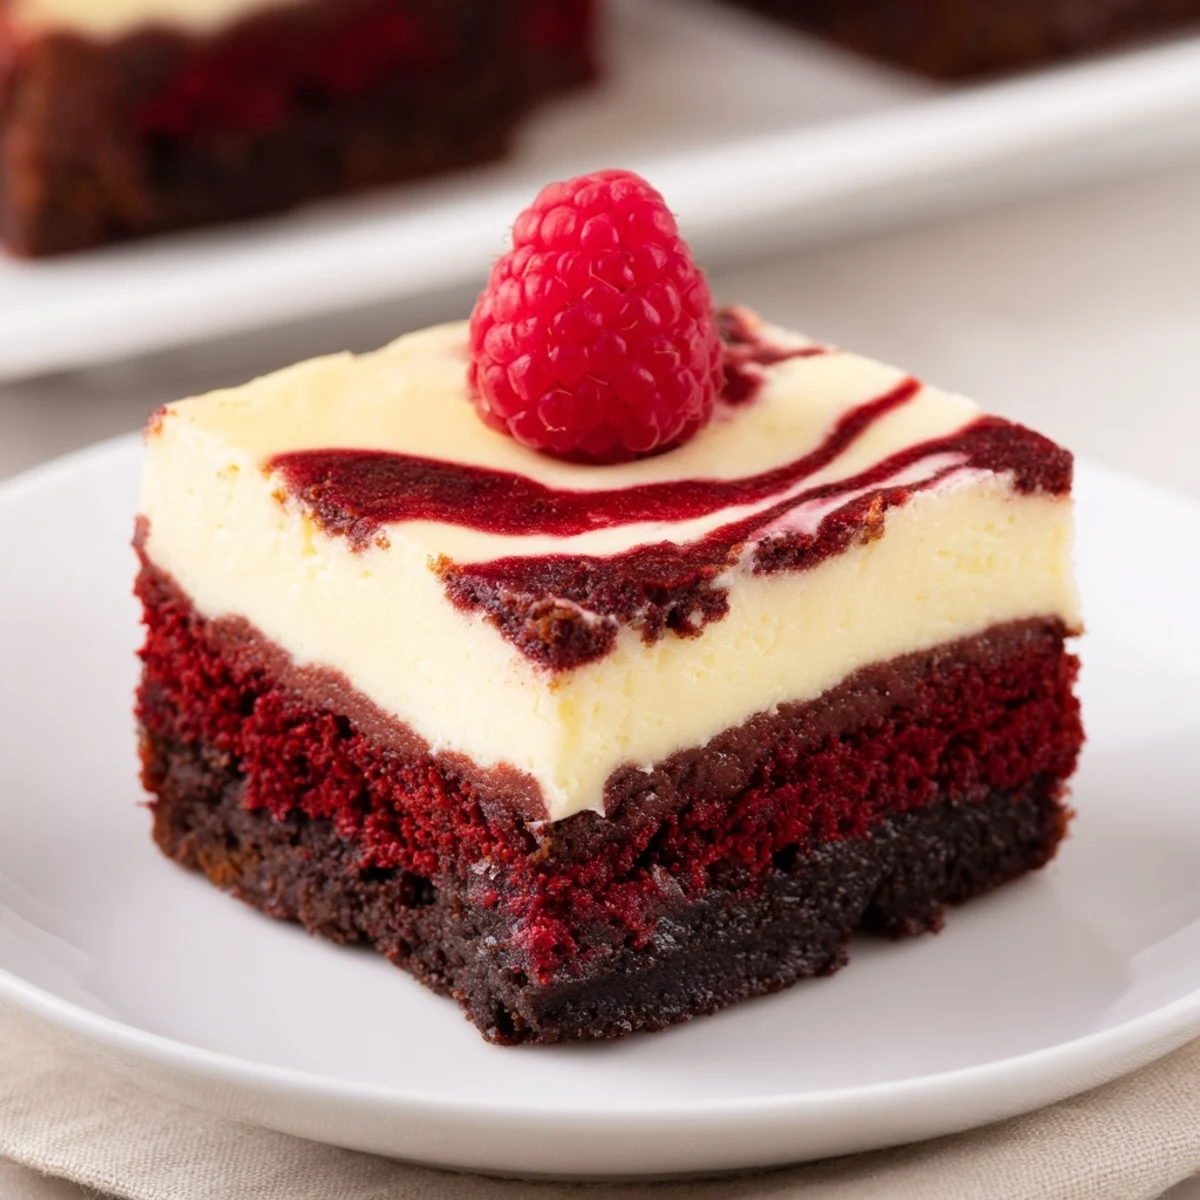
The first time the aroma of these red velvet brownies mingled with the scent of cream cheese wafted through my kitchen, I had to stop and take in how unexpectedly inviting it was. It wasn’t a holiday—just one of those quiet afternoons that begged for a little indulgence. The swirl of white and crimson turned out prettier than I expected, even though I’d worried about making a mess. I laughed a bit when I realized how you'll never know how much fun swirling can be until you’re standing there, skewer in hand, pretending you’re an artist for a few seconds.
I made these for a friend’s virtual baby shower, and the delight in her voice when I described the marbled topping stuck with me. Slicing into the chilled bars later, as we all joked about our home baking victories and fails over video chat, made them so much more than dessert.
Ingredients
- Unsalted Butter: Melting the butter first helps the brownie base get that famously dense and fudgy texture.
- Granulated Sugar: I always mix it really thoroughly with the butter to guarantee that thin crackly crust.
- Large Eggs: Bringing them to room temperature prevents any weird lumps and keeps things silky.
- Vanilla Extract: Adds depth to both the brownie and cheesecake layers; don’t be shy with it.
- Red Food Coloring: A little goes a long way here, and using gel makes the color vivid without thinning the batter.
- All-Purpose Flour: I learned to measure this by spooning and leveling, so the brownies don’t toughen up.
- Unsweetened Cocoa Powder: Choose a good quality cocoa for that pure chocolate undercurrent without overpowering the red velvet flavor.
- Salt: Just enough brings the other flavors forward but never tastes salty.
- Cream Cheese: Softening it first is essential so the cheesecake layer beats up perfectly smooth—no annoying lumps.
- Chocolate Chips (optional): If you're feeling indulgent, scatter some over the base before the cheesecake for melty pockets of chocolate.
Instructions
- Prep the Pan:
- Line your square baking pan with parchment, letting it hang over the sides for easy lifting later on.
- Mix the Brownie Base:
- In a medium bowl, whisk melted butter and sugar until glossy and blended, then beat in the eggs, vanilla, and that splash of red color until the mixture looks rich and smooth.
- Add Dry Ingredients:
- Sift in the flour, cocoa, and salt, gently folding just until you can't see flour—overmixing is the enemy of fudginess here.
- Layer and Reserve:
- Spread about three-quarters of the red velvet batter into your prepared pan, smoothing it out evenly with a spatula and holding back the rest for swirling fun later.
- Whip Up the Cheesecake:
- In a separate bowl, beat together softened cream cheese and sugar until velvety, pausing to scrape down the sides, then add the egg and vanilla to finish off the creamy batter.
- Create the Cheesecake Layer:
- Pour the cream cheese mixture over the brownie base and gently coax it to the edges with the back of a spoon, trying not to drag up the red velvet layer underneath.
- Swirl to Marble:
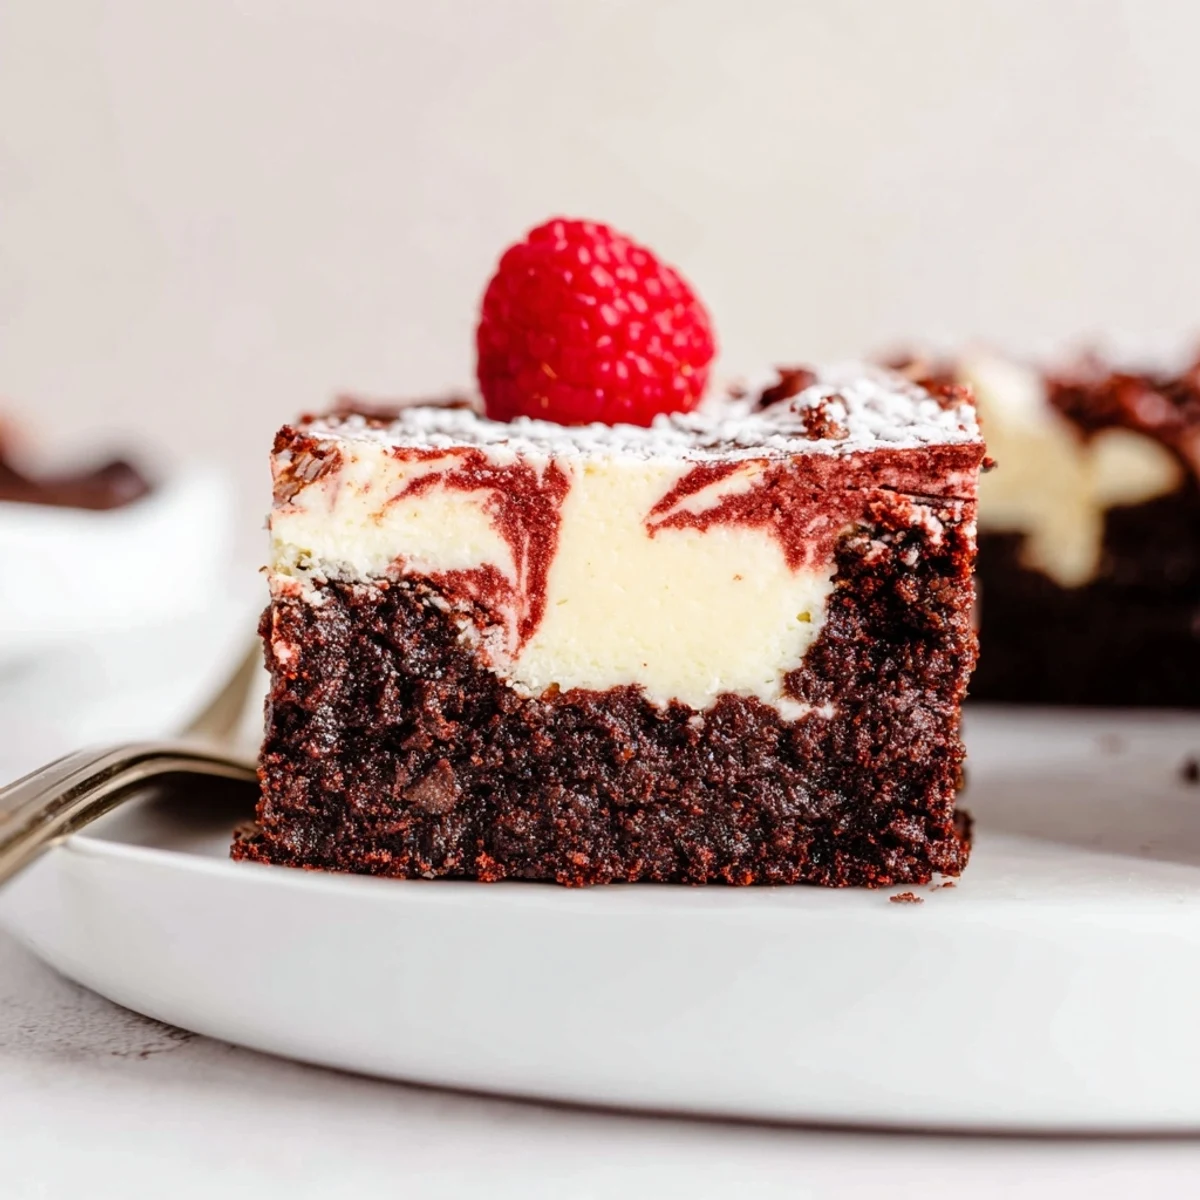
- Dollop the remaining red velvet batter on top and use a skewer or knife to swirl figure-eights, watching those beautiful patterns take shape with each drag.
- Bake and Cool:
- Slide the pan into the oven and bake until just set in the middle, then let the slab cool completely before chilling—it’s worth the wait for sharp, tidy slices.
 Save
Save These brownies turned into a conversation piece when I brought them to a book club meeting—everyone marveled at the colors before even tasting them. Seeing them disappear almost as fast as the conversation changed topics made me realize how dessert can anchor an evening.
How to Nail That Swirl
Make sure both layers are relatively thick but spreadable—if your cheesecake layer is too runny or the batter too firm, it’s tricky to get defined swirls. Hold your skewer lightly, and don’t overdo it or you’ll lose those dramatic streaks.
Serving Suggestions That Wow
I love dusting them with powdered sugar or adding a handful of fresh raspberries before serving—guests always think I toiled longer than I did. These brownies are just as good solo, but a scoop of vanilla ice cream on a warm day takes them to another level.
Little Kitchen Lessons Learned
If you’re tempted to sneak a slice before chilling, I get it, but patience really pays off with the cleanest cuts and best texture. Sweeping the knife with hot water between slices was my revelation for Instagram-worthy bars.
- Make sure your cream cheese is properly softened for that silky finish.
- Don’t overbake—the center should jiggle just slightly when you take them out.
- Always chill, and store leftovers in the fridge for up to four days.
 Save
Save May your kitchen be filled with laughter and bright swirls—these brownies are a little labor of love that always seem to spark joy. I hope sharing them brings you as much fun as making them.
Recipe FAQs
- → How do I know when the center is done?
-
Insert a toothpick into the center; it should come out mostly clean with a few moist crumbs. The edges will look set and may pull slightly from the pan but the center should still feel slightly soft to the touch.
- → Should the cream cheese be room temperature?
-
Yes. Soften the cream cheese to room temperature to ensure a smooth, lump-free filling. Beat it with sugar until creamy before adding the egg and vanilla to avoid overworking the batter.
- → Can I use gel food coloring instead of liquid?
-
Gel color is more concentrated, so start with less and increase to achieve the desired hue. Gel gives a richer color without thinning the batter.
- → Any tips for getting a good marbled swirl?
-
Dollop the reserved red batter over the cheesecake layer and use a knife or skewer to drag gentle figure-eights or swirls. Avoid overmixing to keep distinct ribbons of color and texture.
- → Can these be made ahead and stored?
-
Yes. Chill completely before slicing. Store in an airtight container in the refrigerator for up to 4 days. For longer storage, wrap tightly and freeze up to 2 months; thaw in the fridge before serving.
- → Are mix-ins like chocolate chips recommended?
-
Chocolate chips or chopped dark chocolate folded into the brownie batter add richness. Sprinkle a few over the brownie layer before pouring the cheesecake for extra texture and flavor.